Learn WebGPU with C++
During this workshop, you will learn how to use WebGPU with C++ to deploy your 3D applications to the Web.
During the masterclass, the following topics are covered:
- Intro to WebGPU
- Project setup
- Initialise WebGPU
- Command Queues
- Clearing the Screen
- GPU Buffers
- WGSL Shaders
- Bind Groups
- Setting up the Render Pipeline
- Binding Resources
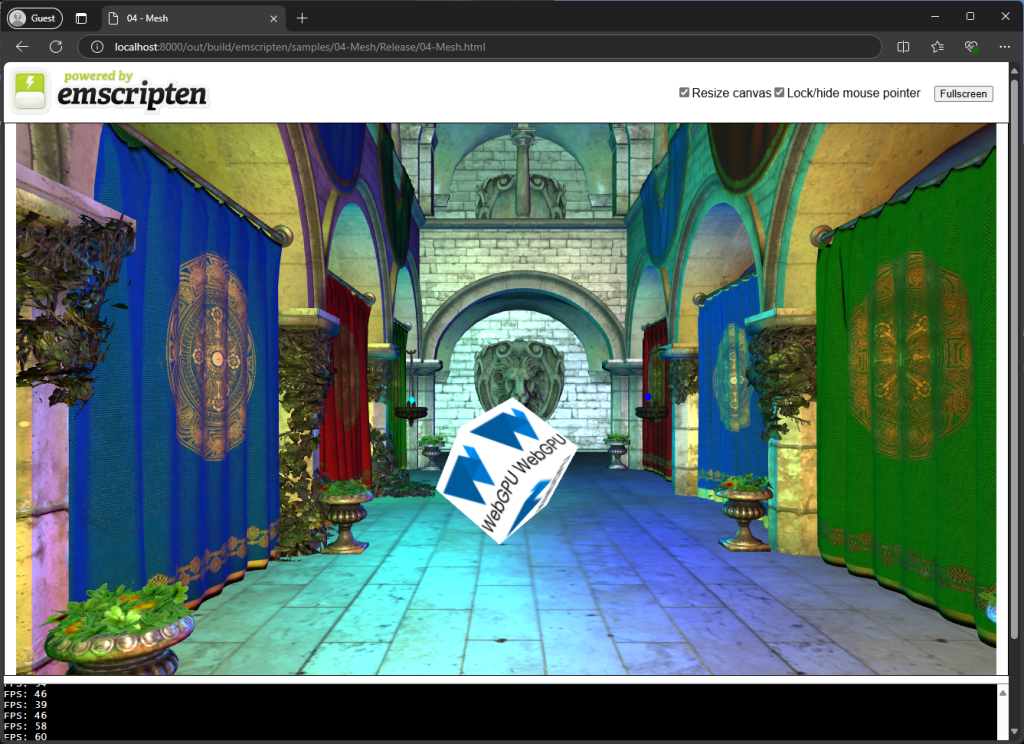
By the end of the masterclass, you should have a rotating cube on your screen.
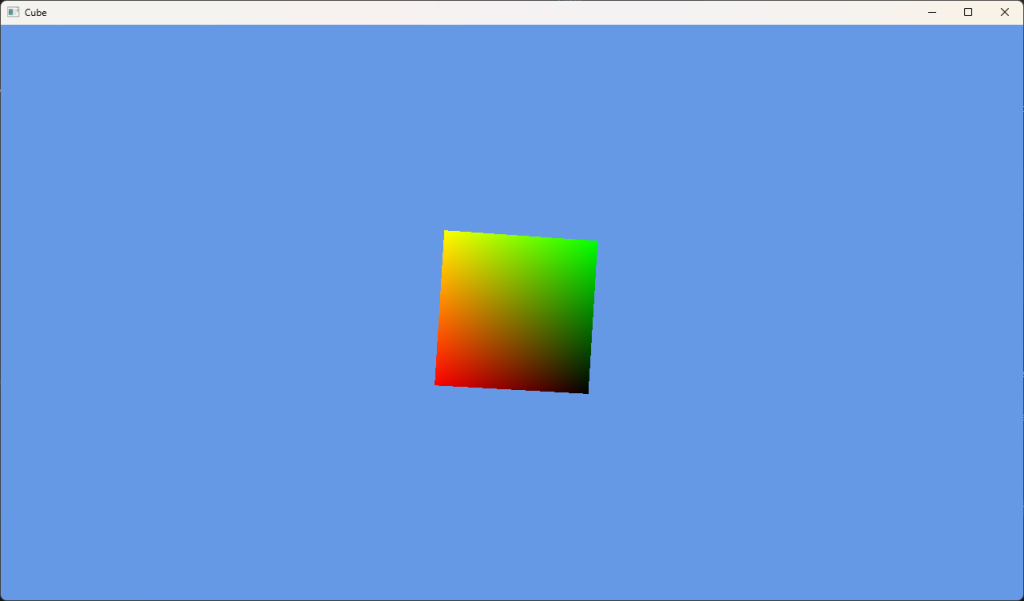
You will also have a better understanding of deploying your application to the web using Emscripten to compile your C++ code into WebAssembly (WASM) that can run in the web browser.
Before the workshop, please follow the steps below to prepare your laptop for the event. If you don’t have a laptop, you can follow along with the person next to you!
If you have any questions, comments, or concerns, feel free to post your question on our Discord server: WebGPU with C++ on Discord
Requirements
- A laptop with 64-bit Windows (I haven’t tested with other OS’s, but theoretically, it should work on Linux & Mac)
- At least 8GB RAM
- A discreet GPU is recommended, but an integrated GPU should work too
- Visual Studio 2022 or Visual Studio Code (or any IDE that can works with CMake)
- Experience with C++
- Experience with graphics APIs is recommended, but not required
Download the Repo
This repository uses submodules for a few of the external dependencies. Make sure you use --recurse-submodules when cloning the repo:
git clone --recurse-submodules https://github.com/3dgep/LearnWebGPU.git
If you cloned the repo but forgot to initialize the submodules, you can do that with the following command:
git submodule update --init
Installing Dependencies
This project has a few dependencies that you will need before you can build and run your projects.
CMake
Download the latest version of CMake from https://cmake.org/download.
Python
Make sure you have the latest version of Python installed: https://www.python.org/downloads.
Check which version of Python you currently have:
python --version
You should have at least version 3.11.
Ninja Build
The Ninja build system is used to build the browser version of our application.
Check which version of Ninja you currently have:
ninja --version
You should have at least version 1.12.1.
If you don’t have Ninja installed, you can use one of the options below to install it.
Windows
winget install Ninja-build.Ninja
Mac
brew install ninja
Linux
apt-get install ninja-build
See Pre built Ninja packages for more package managers.
Visual Studio 2022
Make sure you install the latest version of Visual Studio. Even if you don’t intend to use the Visual Studio IDE, you need to have the C++ toolchain installed for other IDEs (like Visual Studio Code) to build the C++ projects.
https://visualstudio.microsoft.com/
Note: I haven’t figured out how to build & debug the application with Visual Studio when using the Emscripten toolchain. Visual Studio Code (with the CMake plugin) is much better for this.
Visual Studio Code
Visual Studio Code is better for building and debugging the Emscripten builds.
There are several launch & tasks configurations to simplify debugging the application in the browser.
Visual Studio code is preferred when creating web builds with Emscripten.
https://visualstudio.microsoft.com/.
This project includes an extensions.json file for Visual Studio Code.
- C/C++ for Visual Studio Code
- CMake Tools
- Live Preview
Emscripten
This project comes with Emscripten as a Git submodule. We need to install and activate the version of Emscripten that will be used for this project.
Run the following commands to install and activate the version of Emscripten that is used for this project.
					git submodule update --init tools/emsdk
cd tools/emsdk
.\emsdk install 3.1.65
.\emsdk activate --permanent 3.1.65
Configure
This project uses CMake for project configuration. There are build presets for Visual Studio 2022 (v17) and Emscripten.
Configure for Visual Studio 2022
The following command can be used to create the solution and project files for Visual Studio 2022.
cmake --preset vs17
Configure for Empscripten
The following command can be used to configure the Ninja files to build with Emscripten.
cmake --preset emscripten
Building
After the project has been generated, you can open the generated solution file in Visual Studio, or use CMake to build the project.
Building for Visual Studio
Windows Debug
cmake --build --preset x64-debug
Windows Release
cmake --build --preset x64-release
Building for Emscripten
Emscripten Debug
cmake --build --preset emscripten-debug
Emscripten Release
cmake --build --preset emscripten-release
Running
If the build was successful, you should be able to run one of the samples.
Cube Demo
.\out\build\vs17\samples\02-Cube\Debug\02-Cube.exe

To run the samples in the browser, start a local web server:
python -m http.server
And open the following page in Chrome (or Edge):
http://localhost:8000/out/build/emscripten/samples/02-Cube/Debug/02-Cube.html
Or, if you built the release version, you should be able to open the following in Chrome (or Edge):
http://localhost:8000/out/build/emscripten/samples/04-Mesh/Release/04-Mesh.html
